Cloud computing is now an integral part of IT at many organisations. Amazon Web Services (AWS) is currently the leading provider of public cloud services. Knowledge of cloud services is becoming an essential skill for many IT professionals. It’s also fun to play with! In this article, we aim to give you the information required to get you started with AWS. With the information provided in this article you can take the first small steps towards learning and mastering AWS.
Get a free account
The perhaps obvious first step to using AWS is to get an account. Amazon provide what they call a free account. Of course there limitations as to what you can do and it is only free for a year. However, the free tier provides you pretty much what you need to get started and and if you stray into chargeable utilities, under normal circumstance, i.e. if you’re just trying something out, the charges will be low.
To get a free account, go to https://aws.amazon.com/free/ . This pages spells out exactly what you get for free (and this is one thing I like about AWS, they don’t try to hide or confuse you about the charges). Also on this page is a button to get a free account. Click this and go through the sign up procedure. You’ll need to provide debit/credit card details so Amazon can take payment for any charges accrued. One thing I would strongly recommend is to use 2 factor authentication. Something like Google authenticator works well. I have known people to get their accounts hacked and the hacker starting hundreds of EC2 instances building up a charge of thousands of pounds/dollars/currency of your choice. Don’t let that happen to you, use 2 factor authentication.
EC2
To my mind this is the core of AWS. An EC2 instance is a VM. You can use it in a similar way to a VMWare VM. They can run Linux, BSD or Windows and you can install applications as you like. Although the amount of CPU, memory, etc is fixed depending on the type selected, there is a large range of types available. See our glossary of AWS services for more details of the types available.
VPC
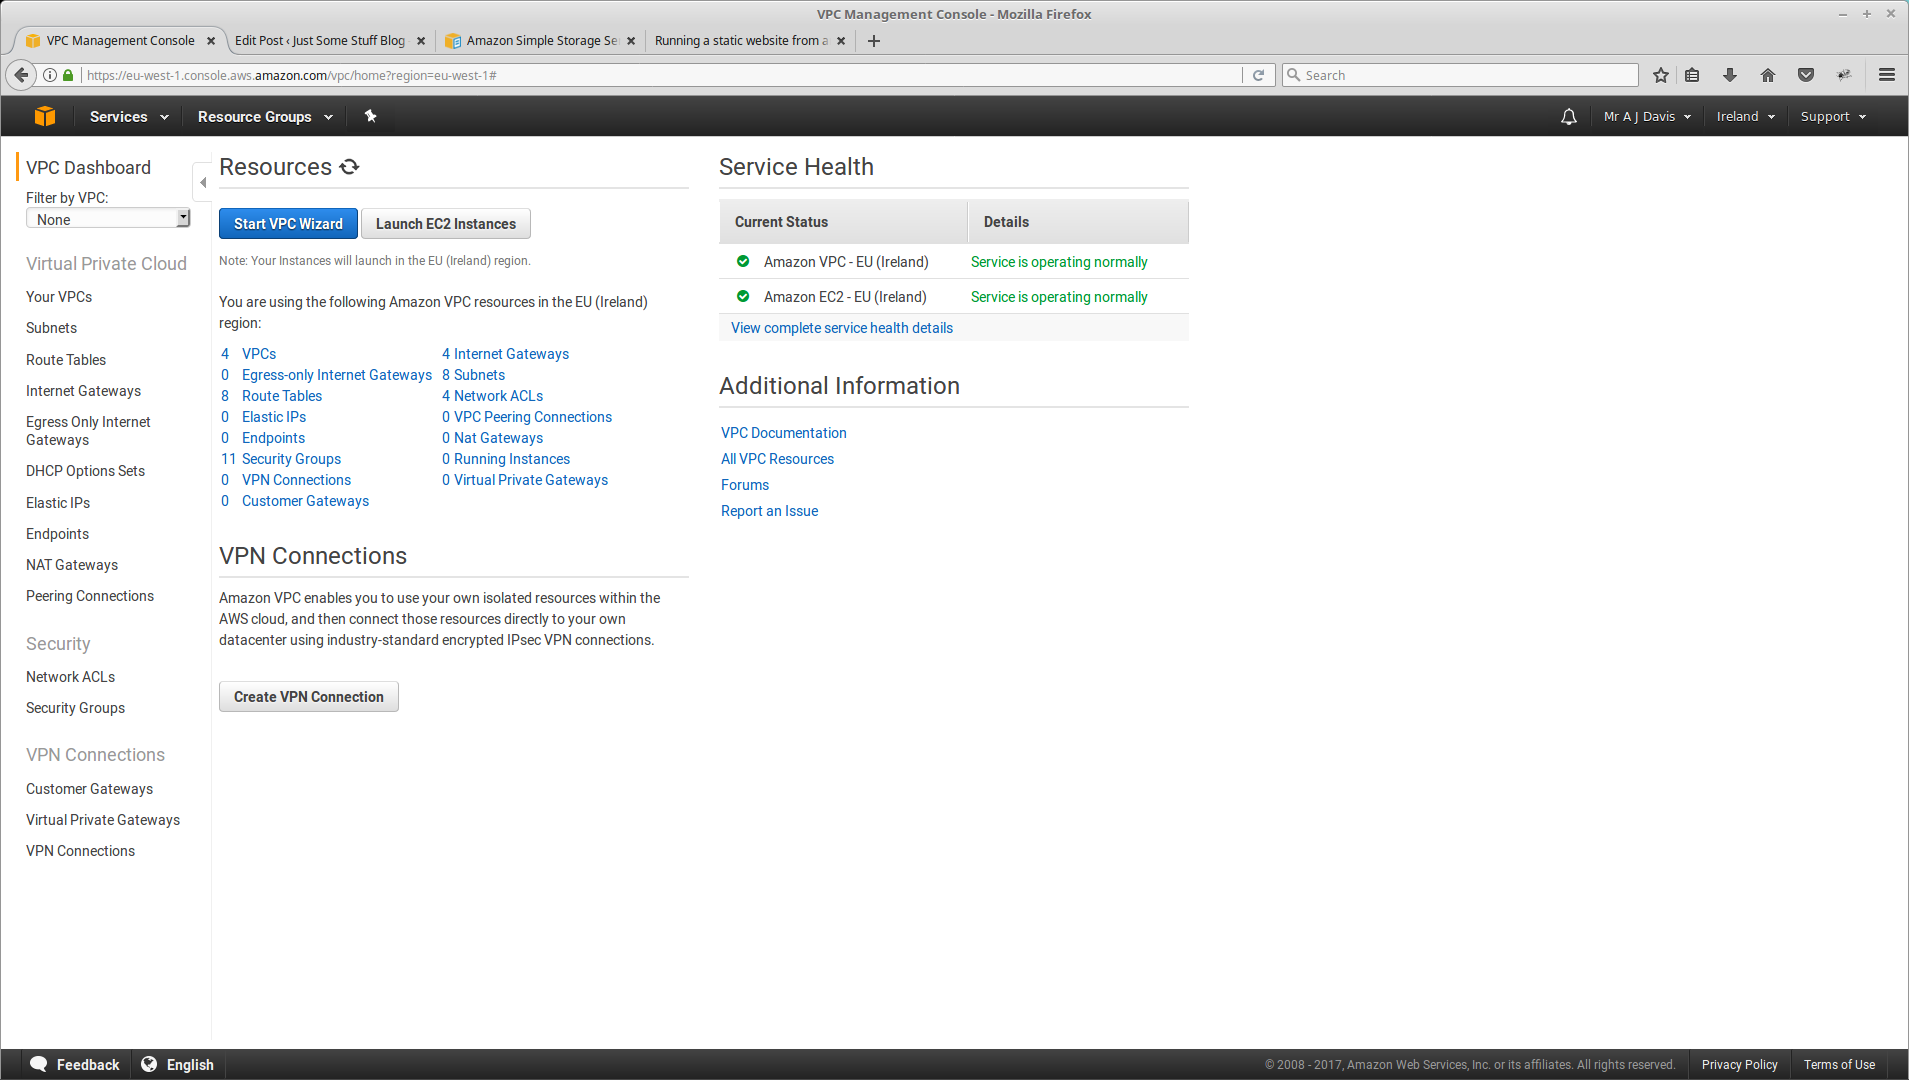
Before you can fire up your EC2 instance and install your desired application, there are a few prerequisites. First off you need to create a VPC, a Virtual Private Cloud. I like to visualize these a your own virtual datacentre. Creating one of these is simple. From the Management Console, select VPC from under Networking & Content Delivery. You’ll see a screen something like this:
Click on the Start VPC Wizard button and on the next screen click select . The following screen will appear.
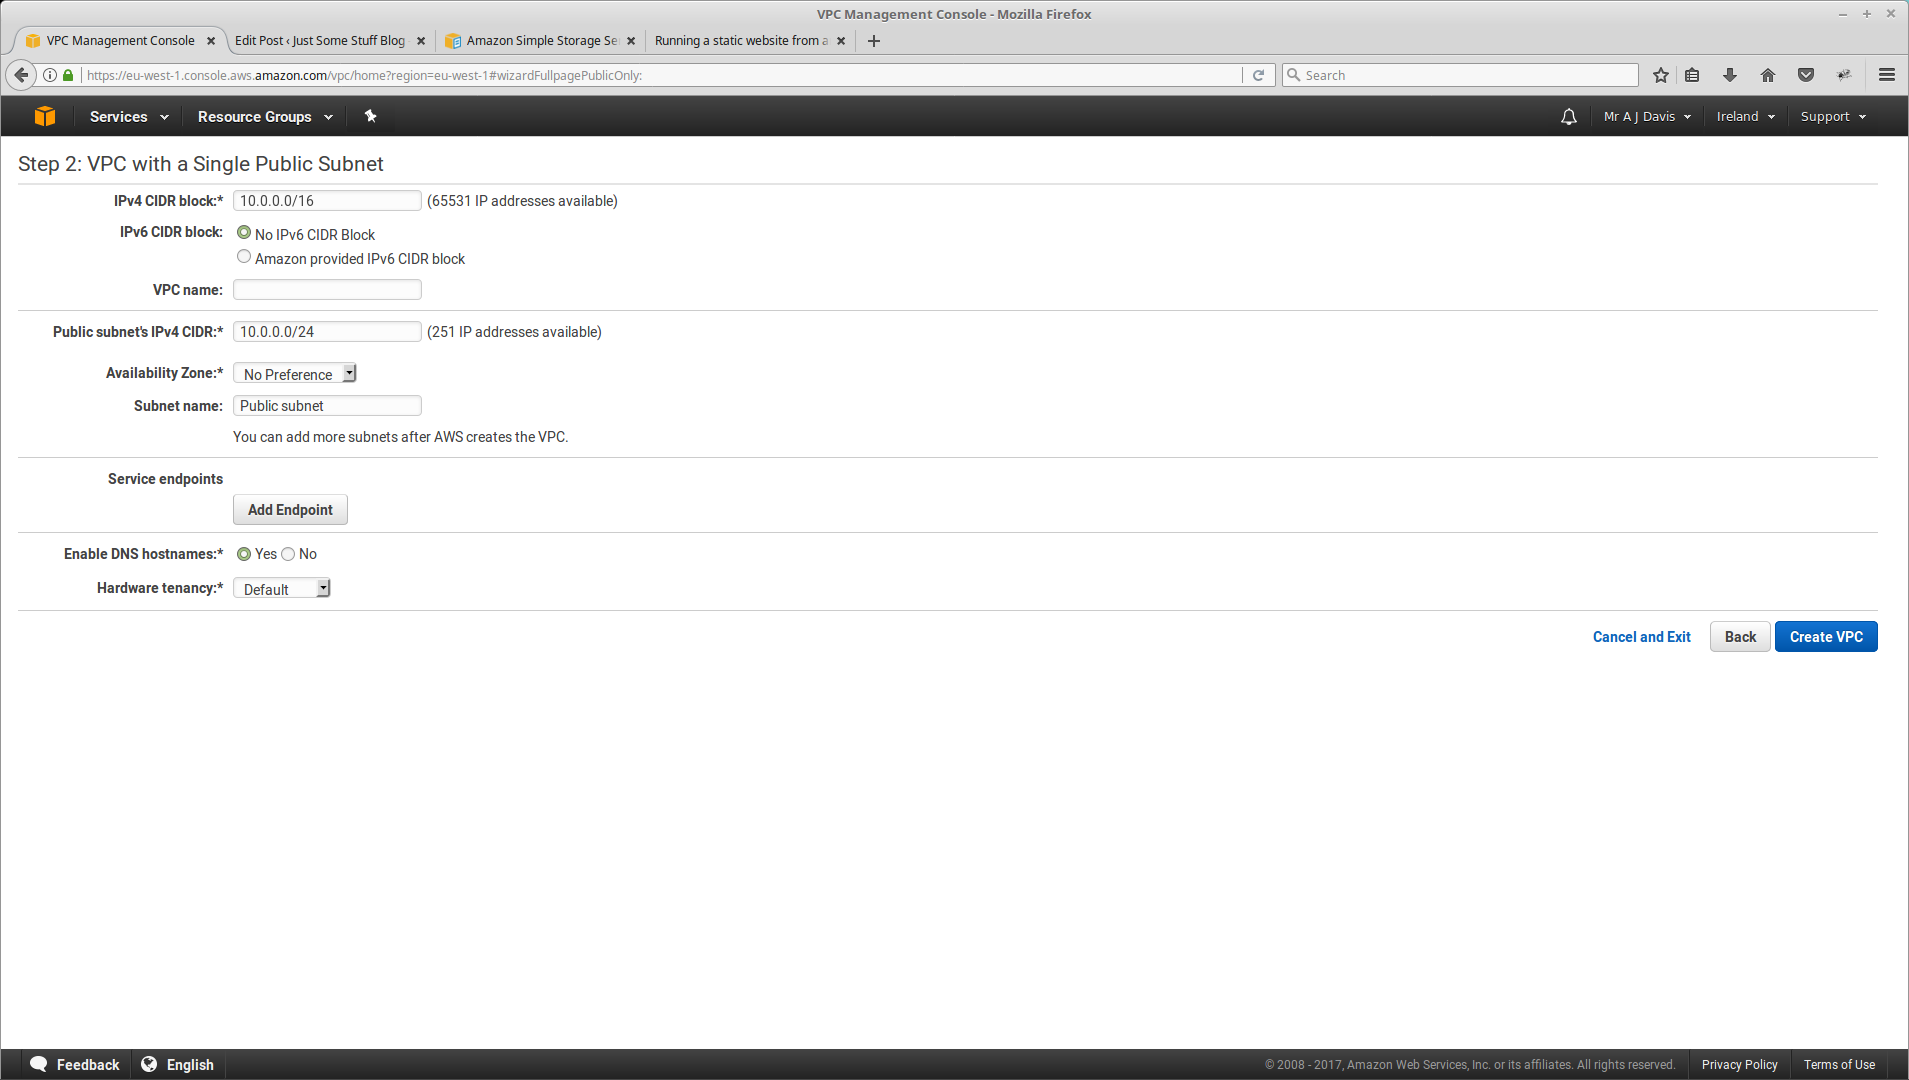
There’s quite a bit of info on this screen. In summary you’re getting 65,531 usuable IP address, (which should be plenty to start off with!) and the subnet 10.0.0.0/24 is your public facing subnet, i.e. connects to the internet. (BTW, if you find subnets confusing, check our guide to subnets ). At this point accept all the defaults, give your VPC a name and click Create VPC.
Create your EC2 instance
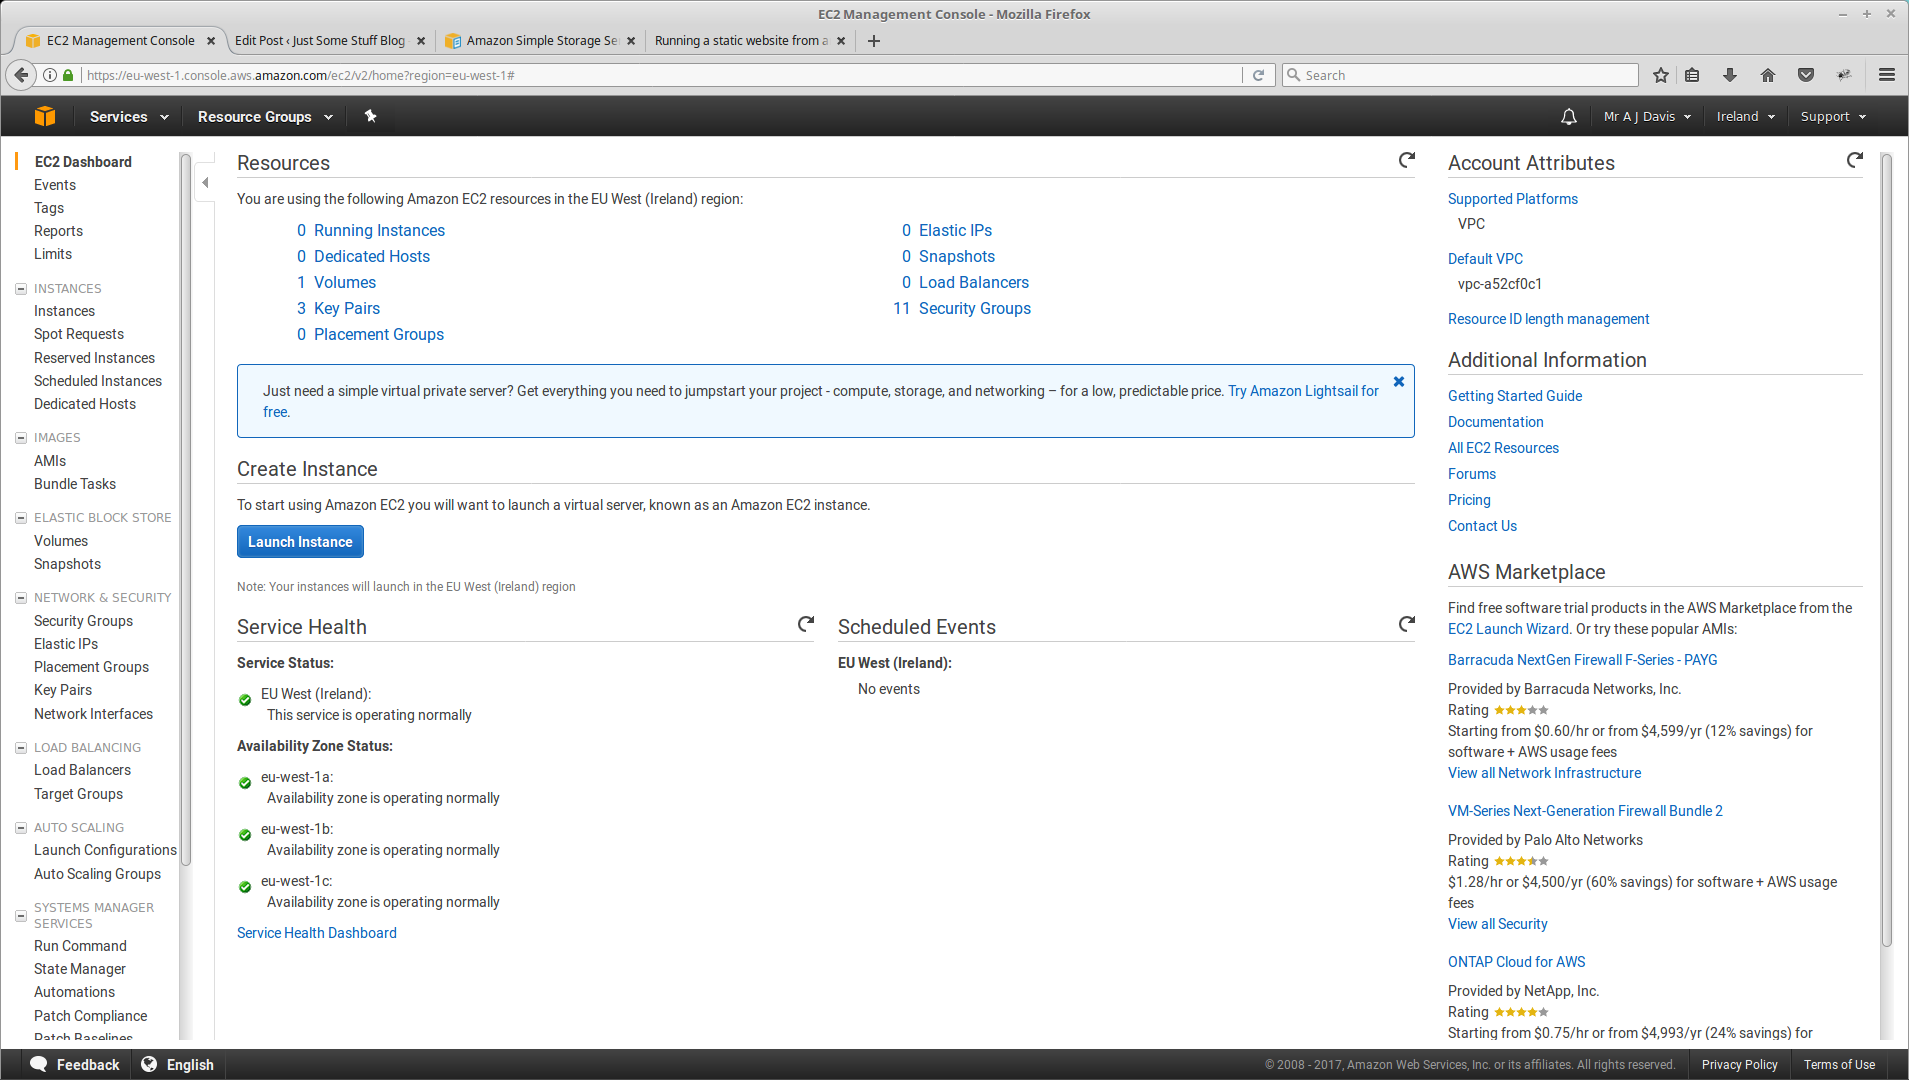
Hooray, your now ready to create your VM. It’s another straight forward interactive process you can do via the AWS console. However, you’re going to get asked some questions and you need to know answers. so here’s what you need to know. I’m not going to screen shot every page as their all self explanatory but click services in the top left hand corner of the console and select EC2, and you’ll be at the starting point (click next after completing each page):
Click Launch Instance. You’ll now be taken through a series of screens, here’s the information you’ll need to navigate through them:
- AMI – Amazon Machine Image, this is your golden image/ISO , however you want to visualize it , that is the basis of your EC2 VM instance. There’s loads to choose including Amazon Linux, RHEL, CentOS, Ubuntu or even Windows. You can customise our own but to get started, just choose an OS image you feel comfortable using. To start off with, Amazon Linux is a good choice.
- Instance Type – as previously mentioned there’s a good number of instance types but as you’re just trying stuff out and presumably want to limit your expenditure, choose T2.micro (free tier)
- Configure Instance Type – use this screen to configure where on your network the EC2 instance will run. Of course you only have one VPC and one subnet, the public subnet. To start off, you’ll need to access your EC2 instance across the internet. You will therefore need to enable Auto Assign Public IP address (we’re just trying stuff out for now, but this isn’t a secure solution going forward and I’d recommend reading our article Using a Bastion Host to Access Your EC2 Instances once you have mastered the basics). Next you’ll see a field, IAM Role . IAM stands for Identity Access Management and provides security controls as to who can do what. We haven’t got any IAM roles yet so click Create new IAM Role . On the IAM screen, click Create new role, select Amazon EC2 from the list provided. Select Administrator Access, give the role a name and click create role. Now, back on the configure instance type screen, click the refresh icon and select the IAM role you just created. The rest of this screen you can leave to the default value, click next Add Storage.
- Storage – You can let this all default to an EBS volume. With this type of storage, the data will survive a reboot, which is useful if it’s your root filesystem ( or C drive). You can choose IOPS but stick with the defaults for now and it will default to 8GB which keeps you in the free tier.
- Tags – you can give you instance a tag. Do this, it saves confusion later. Select add a tag, for key , select Name then for value, create a name that will help you remember what the EC2 instance is for
- Configure Security Group – A security is like a set of firewall rules. It restricts how the EC2 instance can be accessed. Assuming you chose a Linux AMI, SSH is the obvious choice to start with. Of course, security groups can be updated later on new ones added if you want to add more protocols. Select Create a new security group, it will default to SSH access and to start off allow access from anywhere. This is just for testing and as mentioned, we recommend using the Bastion host set up once you’re confident with the basics.
- Click review and launch, review the settings then click launch. At this point you’ll enter the key pair dialogue. As this is presumably the first time you’ve created an EC2 instance, you’ll need to create a new key pair. Give it a name and download key pair. This is important as without this you won’t be able to log in (there’s no password access)! When the instance is launched, the public key is injected into the instance and you can use the downloaded private key as the ssh key. Once downloaded, click Launch Instance.
That’s it, you’ve created an EC2 instance and if you take a look at the running instance, there it will be. One thing is that there’s no console to access. If you select the instance , the details will appear at the bottom of the screen. One of the items will be the public IP address. You can use this to log into your instance. You need to use a built in user called ec2-user . So the command to log in would be:
ssh -i ./downloaded-private-key ec2-user@public-ip-address
Finally once you’re logged in as ec2-user, you can use sudo to elevate your privileges. If you selected Amazon Linux, RHEL or Ubuntu you’ll be able to install packages as you would normally. You are on the first step to becoming an AWS master. But there’s more…
S3
S3 is the other AWS component that you’ll likely to want to use from the off. S3 is what is known as object based storage. This fancy name translates to file based access. Usually if you want to access a file, you need to mount a file system first . Even with something like NFS, you’re mounting a file system across the network. With object based access, like S3, each separate file is addressable, using something like a web URL to access the file, e.g. http://bucket.s3-aws-region.amazonaws.com
S3 is a useful way of getting data into the cloud. You can upload files into S3 and once there access that file from your EC2 instance. Of course there’s some terminology that goes around S3 but the basic concept is a S3 bucket into which you put your files. In the Management Console, select S3 under the Storage category. You’ll get a screen something like the following:
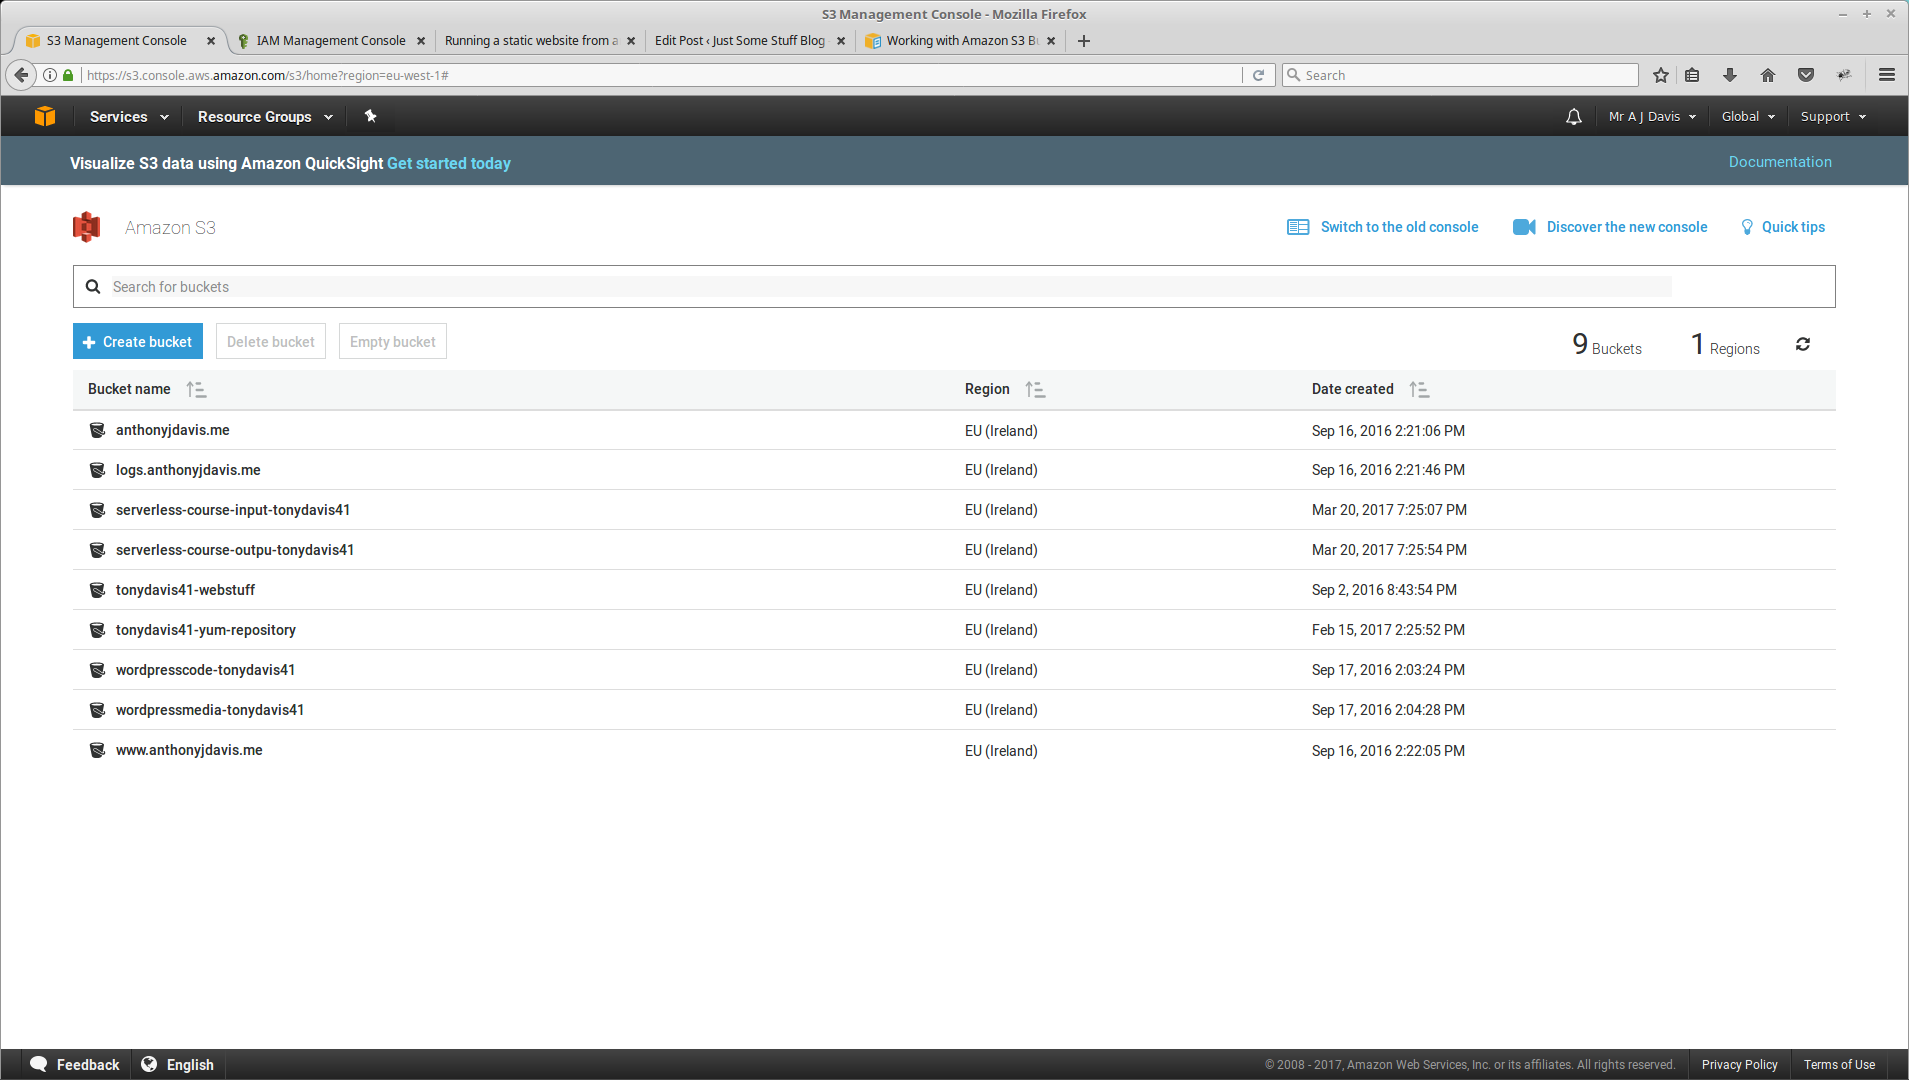
As you can see, I already have some S3 buckets created. To create your own, click Create bucket, you’ll see the screen as follows:
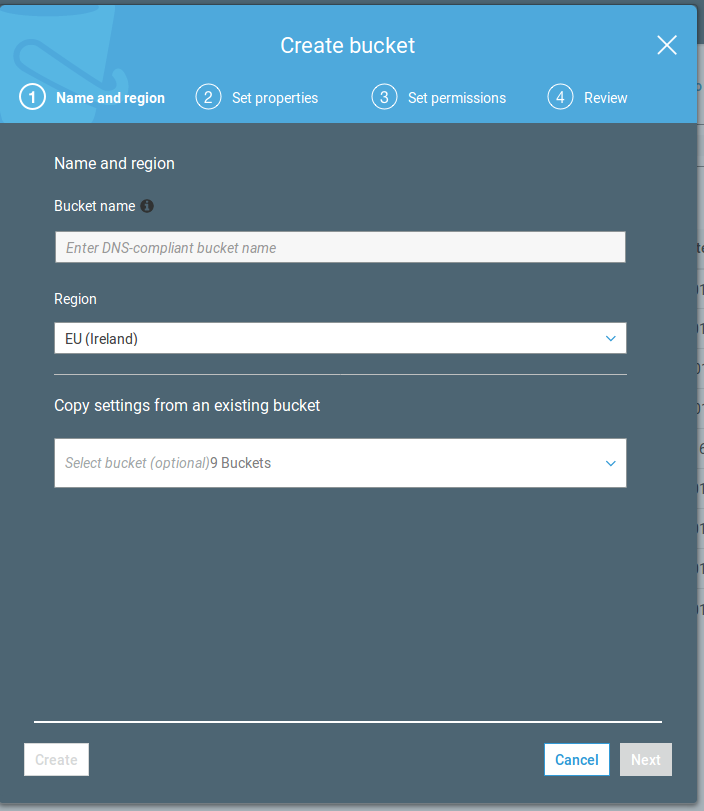
As S3 buckets are internet addressable, the bucket name has to be completely unique. The region should be your nearest geographical region. Click next. The next screen allows you to set some properties, we’ll ignore these for now so just click next again, you’ll see a screen like this:
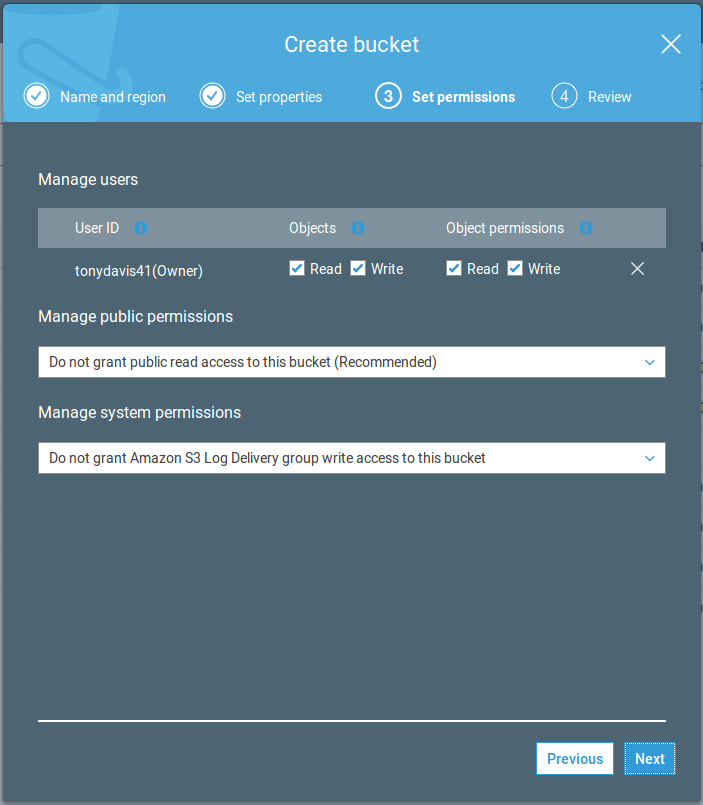
This is an important screen as you’re setting permissions here. You’ll obviously want to give yourself (the owner) full permissions and it is recommended not to grant public permissions otherwise your bucket will very quickly get filled with junk. These are the defaults so you can just click next again. Finally you’ll see the following screen:
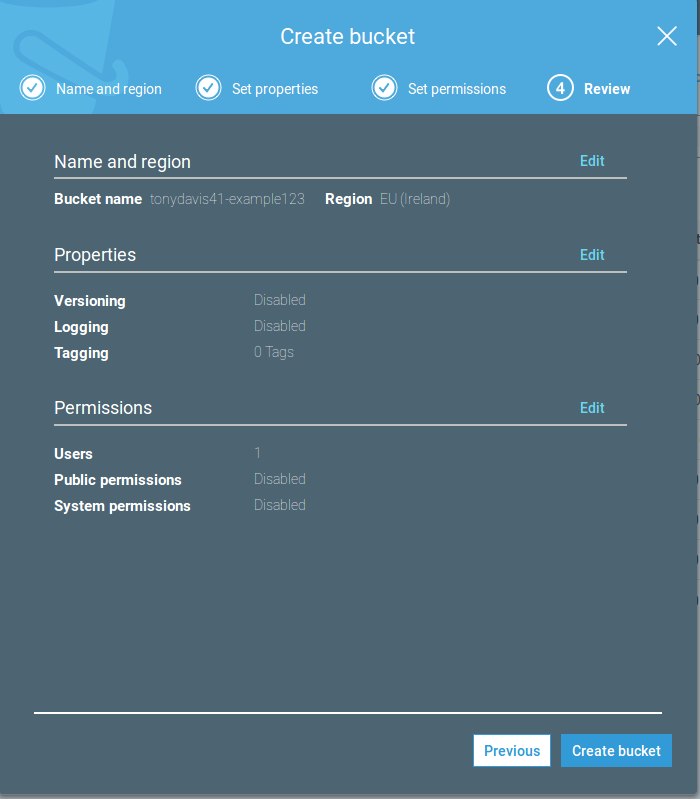
This is a summary screen of the options you chose but does give you the option to change the settings if you like. For now just click Create bucket. The bucket will now appear in the list of buckets on the S3 dashboard. If you click on the bucket, you’ll be taken to the following screen:

To upload a file into the bucket you can just click the upload button and select the file to be uploaded from storage on your PC/tablet/wherever you’re accessing the AWS Management Console from.
To copy that file from S3 to your EC2 instance , you need to run an AWS CLI command on your instance. If you created your EC2 instance using the Amazon Linux AMI, the AWS CLI will already be installed. If you find it’s not installed, you can download it from Amazon and install it following the instructions provided. The command to run is as follows:
aws s3 cp s3://my_bucket/my_folder/my_file.ext my_copied_file.ext
Further Reading
Now you have taken your first steps to using AWS, here’s some further reading available on justsomestuff.co.uk that will help you progress towards an AWS master:
- AWS Glossary of Services – what all those confusing items on the Management Console mean
- EC2 – more details about EC2 instances and features associated with them
- S3 – more details about S3 and advanced features
- Using a Bastion Host to access your EC2 instances – How to access your EC2 instances securely from the internet
- Automating EC2 builds with cloud-init – how to launch preconfigured EC2 instances using the cloud-init tool
- Running a static website from an S3 bucket – How to use S3 to run a static website
We have more AWS articles in the pipeline so follow us on twitter @itsjustsomestuf to make sure you don’t miss them 🙂